I know what you’re thinking: six steps? Really? Just six? Well…I didn’t say that they were six easy steps, but don’t stop reading just yet! Stay with me!
From my own experience and from my years of helping friends, family members, and clients declutter and organize, this is what I’ve learned: there are six steps to staying organized. I’ll break them down for you.
- Figure out who you are. For example, if you have hiking gear in your closet, but you hate hiking, then you are not a hiker. If you have three sets of dishes, but you never have people over for meals, then it’s time to part with a set or two of dishes. This first step can be difficult. We all have an idea in our minds of who we want to be, but when we really think about it, sometimes who we really are is different from the person we’d like to think we are! This goes for all of those things we keep hoping that we’ll use, wear, create, knit, sew, fix, or finish. So if you started reading Anna Karenina back in 1996, and it’s still sitting on your bookshelf with the bookmark at page 42, then it’s time to donate it.
- Once you figure out who you are, then purge anything that does not reflect and support you. This should likely free up some space in your home. This will only work if you were honest with yourself in step 1. My guess is that you have now filled several bags with old clothes, shoes, hats, bags, etc. You may have also donated dishes, pans, muffin tins, cookie cutters, juicers, sports gear, etc. I should clarify here that when I say “purge,” I just mean “get it out of your home.” So that could mean: give it to a neighbor, donate it, toss it, recycle it, or return it.
- Find good, comfortable homes for everything that is left. This one is also a bit tricky. Everything MUST have a home that is not crowded. Also, the home cannot be “on the counter” if the counter already has too much stuff on it or “on the desk on top of a bunch of other things.” If it’s just as easy to put something back as it is to take something out of its home, then you’re more likely to put things back, which is half the battle! I’m paraphrasing organizing guru Marie Kondo here who said something to this effect in her famous book about tidying up. But she’s right! If everything has a home, and that home is not an overstuffed drawer or a stack that’s seven feet high or a closet that could not possibly hold one more hanger even without something on it, then you should not have clutter as long as you do step 4…
- Always put stuff back. I know, I know, but you’re tired, and you’ll just put it “here” or “there” for now. No. Don’t succumb to this! It’s like quicksand! Muster the strength and the power to put the thing back. You’ll thank yourself after a few weeks. Because when we don’t put things back, they pile up, and that’s clutter. Inaction or indecision plus time equals clutter. Or as author Christina Scalise puts it, “Clutter is the physical manifestation of unmade decisions fueled by procrastination.” Read it again. Think about it. It’s so true!
- Before you buy, think about and find a good, comfortable home for the item. The difficult part of this step is to do this before you buy something new. So for example, about four years ago, I wanted a Vitamix blender. I had done my research, and I had decided that that was what I both wanted and needed for the types of food I liked to make. I had had two consecutive regular blenders burn out on me, so I realized that I had to step up my blender game and buy a more powerful one. But but but…this new appliance would have to live on my counter! So what would I purge from my counter to make room of this new thing? Well, I had one of those ceramic bins that pretty much every kitchen has; you know the one: it’s filled with wooden spoons, whisks, metal ladles, and more. If you were a fan of Martha Stewart way back when, then you likely have a few of these each holding various sized tools: one for whisks, one for wooden spoons, and one for spatulas and so on. Well I realized that all I ever used from that container were three things, so I donated all of the other utensils and the bin itself! And that was it! I put the wooden spoon, the spatula, and the large, metal spoon in one of my kitchen drawers. I then had room on my counter for my new appliance! To this day, the only things I keep on my counter are: my Vitamix, my toaster, a paper towel roll, and a few bottles of olive oil and vinegar. My counters are clear and ready for cooking prep at all times! It saves me a lot of time daily.
- Repeat. Seriously. If you do all of this, and just keep on repeating these steps without fail, then you won’t have clutter.
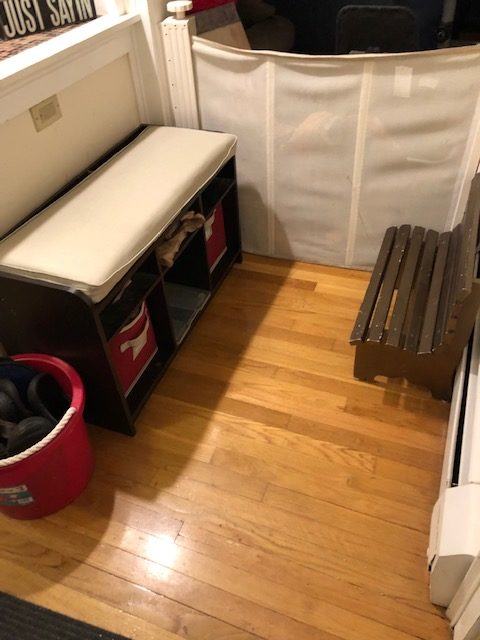
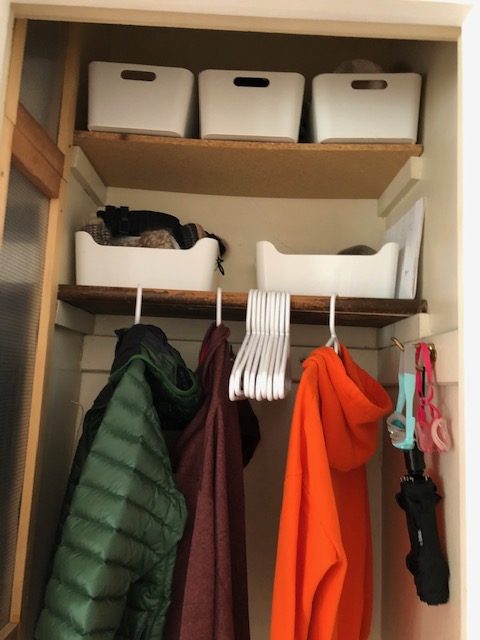
I realize again that you’re thinking but this is really difficult. It is. But it’s doable. You can do it. Start small, and just keep going. Think of how easy it’ll be to find things or to get dressed and ready for work or school in the morning! Think of how easy it’ll be to prep a meal. Think of the time you’ll save! These photos are areas of homes I organized where the home owner and I did steps 2 and 3 together.


Cheryl Russo
August 2019